


40″x60″ – Welding Table Top
Table Top Overview
Product Details
Every TMW welding table top is precision-machined from American steel and designed for repeatability, modularity, and long-term durability.
A572-50 Grade Steel
Available in 1/4" and 3/8" thickness. A572-50 is a high-strength, low-alloy structural steel with a minimum yield strength of 50 ksi. It resists warping better than mild steel under repeated heat cycles, making it the standard for professional welding fixtures.
Laser Etched Layout Lines
Precision laser etched lines across the entire top surface provide a permanent reference grid for part alignment and layout. Unlike scribed or painted lines, laser etching will not wear off or interfere with welding.
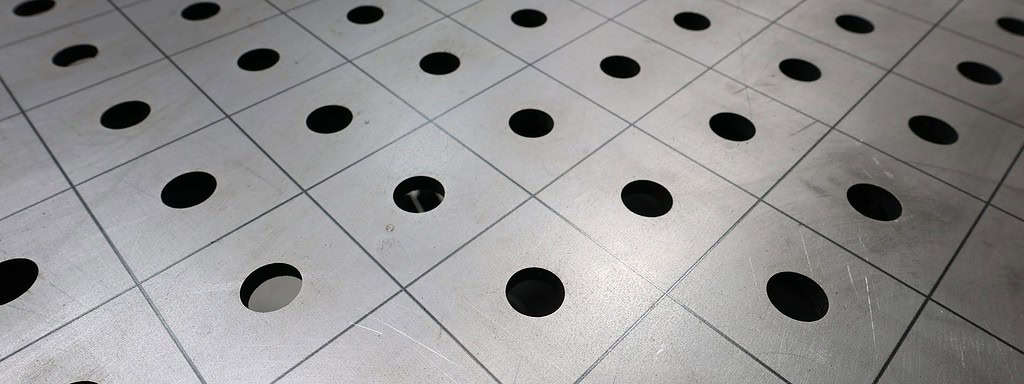
16mm Holes on 2" Centers
The industry standard 16mm (5/8") hole pattern is spaced every 2" on center across the full surface. Compatible with all major fixture and clamping systems including BuildPro, Strong Hand, and TMW ModPro accessories.
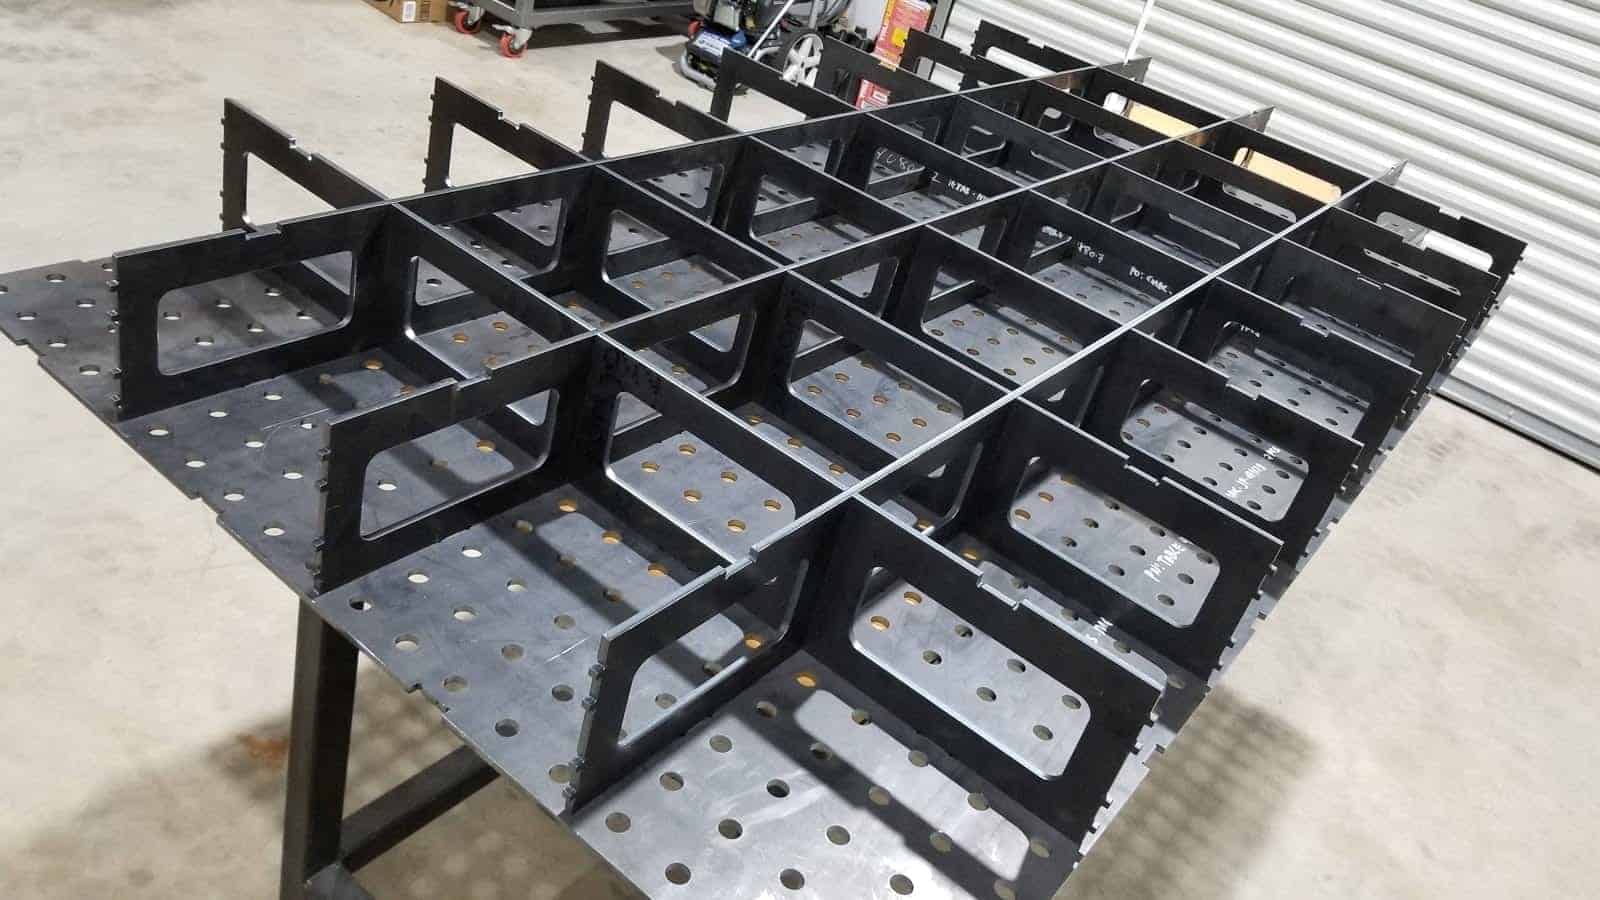
10" Rib Infrastructure
Interlocking rib sections every 10" provide structural rigidity without excessive weight. Each rib includes integrated mounting holes for attaching leg kits, shelves, and other accessories from below.
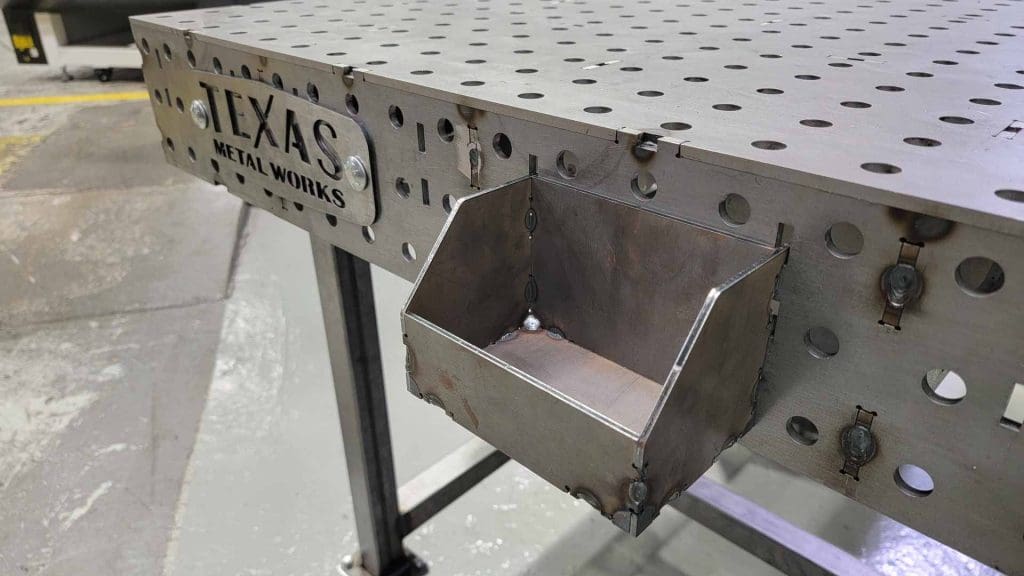
ModPro on All Sidewalls
The ModPro slot system is built into all four sidewalls. Slide in panels, extensions, tool holders, and other accessories without drilling or welding. Reconfigure your setup in seconds as your projects change.
Compatible Accessories
TMW table tops work with the full ecosystem of components:
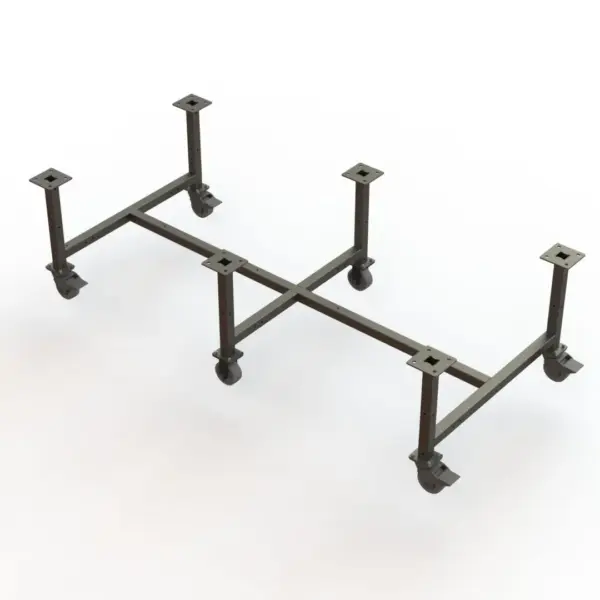
- TMW leg kits (standard and adjustable height)
- Under-table shelving systems
- Drawer units and tool storage
- Table extensions and side panels
- Protective covers
- All 16mm fixture and clamping systems

Assembly Instructions
Follow these steps to assemble your TMW welding table top. Assembly requires basic welding equipment and hand tools.
Build Video: Tick Creek Ranch
Materials Needed
- MIG or stick welder
- Welding gloves and helmet
- Socket wrench set
- Dead blow hammer or mallet
- Level (24" or longer)
- Tape measure
- C-clamps or welding clamps
- Anti-spatter spray (recommended)
Preparation
- Unpack all rib sections and the top plate on a flat, clean surface.
- Inspect all components for shipping damage. Contact TMW if anything looks bent or damaged.
- Lay the top plate face-down on a padded surface to protect the machined holes.
- Arrange rib sections in order and verify count matches the packing list.
Rib Assembly
- Position the interlocking rib sections into the underside of the top plate.
- Start from the center and work outward to ensure even alignment.
- Seat each rib fully using a dead blow hammer if needed. They should slide and lock into position.
- Verify all ribs are flush and square before proceeding to tack welding.
Tightening and Welding
- Tack weld each rib at two points to hold position.
- Check for square by measuring diagonals. Adjust before running full beads.
- Run continuous beads along both sides of each rib-to-plate joint.
- Use a skip weld pattern to minimize heat distortion (weld 2", skip 4", alternate sides).
- Let the assembly cool slowly. Do not quench with water.
Final Touches
- Flip the table top right-side up onto your leg kit or work surface.
- Check top flatness with a straightedge. Minor weld distortion can be corrected with strategic tack welds on the underside.
- Clean any spatter from the hole pattern.
- Apply anti-spatter spray or light oil to the top surface to prevent flash rust.
Assembly Instructions (PDF)
Download the complete assembly guide with diagrams and hardware specifications.
Related products
DIY Welding Tables, Welding Table Legs
40"x60" - Welding Table Legs
Price range: $319.99 through $399.99
Select options
DIY Welding Tables, Welding Table Legs
30"x80" - Welding Table Legs
Price range: $319.99 through $399.99
Select options
DIY Welding Tables, Welding Table Legs
60"x60" - Welding Table Legs
Price range: $479.99 through $559.99
Select options
DIY Welding Tables, Welding Table Legs
50"x50" - Welding Table Legs
Price range: $329.99 through $409.99
Select options