Overview Video
Here’s a quick little video demonstrating how our DIY Welding Table Kits are built. (There’s another video below of Tick Creek Ranch’s experience building one of these kits…)
Product Details
We’re using ¼” thick A572-50 grade steel on our top plates, just like our factory-built heavy duty tables. It’s a super durable material and…it just works. You’ll also notice that this is THICKER and STRONGER than any other kits you might find. For example, compared to 3/16″ A36 our tops are at least TWICE as tough and will better resist impact, scratches and damage over time. For those of you who want even more toughness, we also offer ⅜” thick A572-50 grade steel on our top plates! Feeling a little uncertainty in assembling a table yourself? No problem! Just check out our pre-made welding tables or welding carts.
So, if you’re going to build your own, you may as well use the best! Other features we’ve carried over from our factory line include:
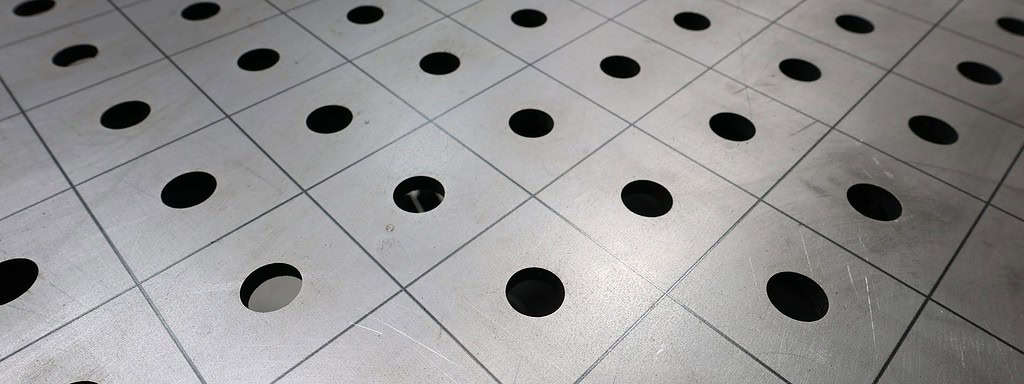
- Laser etched lines! No one else offers them! 🙂
- It costs time and wear and tear on the laser, but everyone loves the look of the laser etched lines!
- They can be used for visual confirmation that things are straight and even, plus you can use them for measuring in 2″ increments.

- 16 mm holes every two inches on center
- This is an industry standard size. 16mm holes will allow for not only our tooling, but anyone who builds tools for this size (almost everyone).
- The holes being 2″ apart ensure you can fixture anything, anywhere on the table.

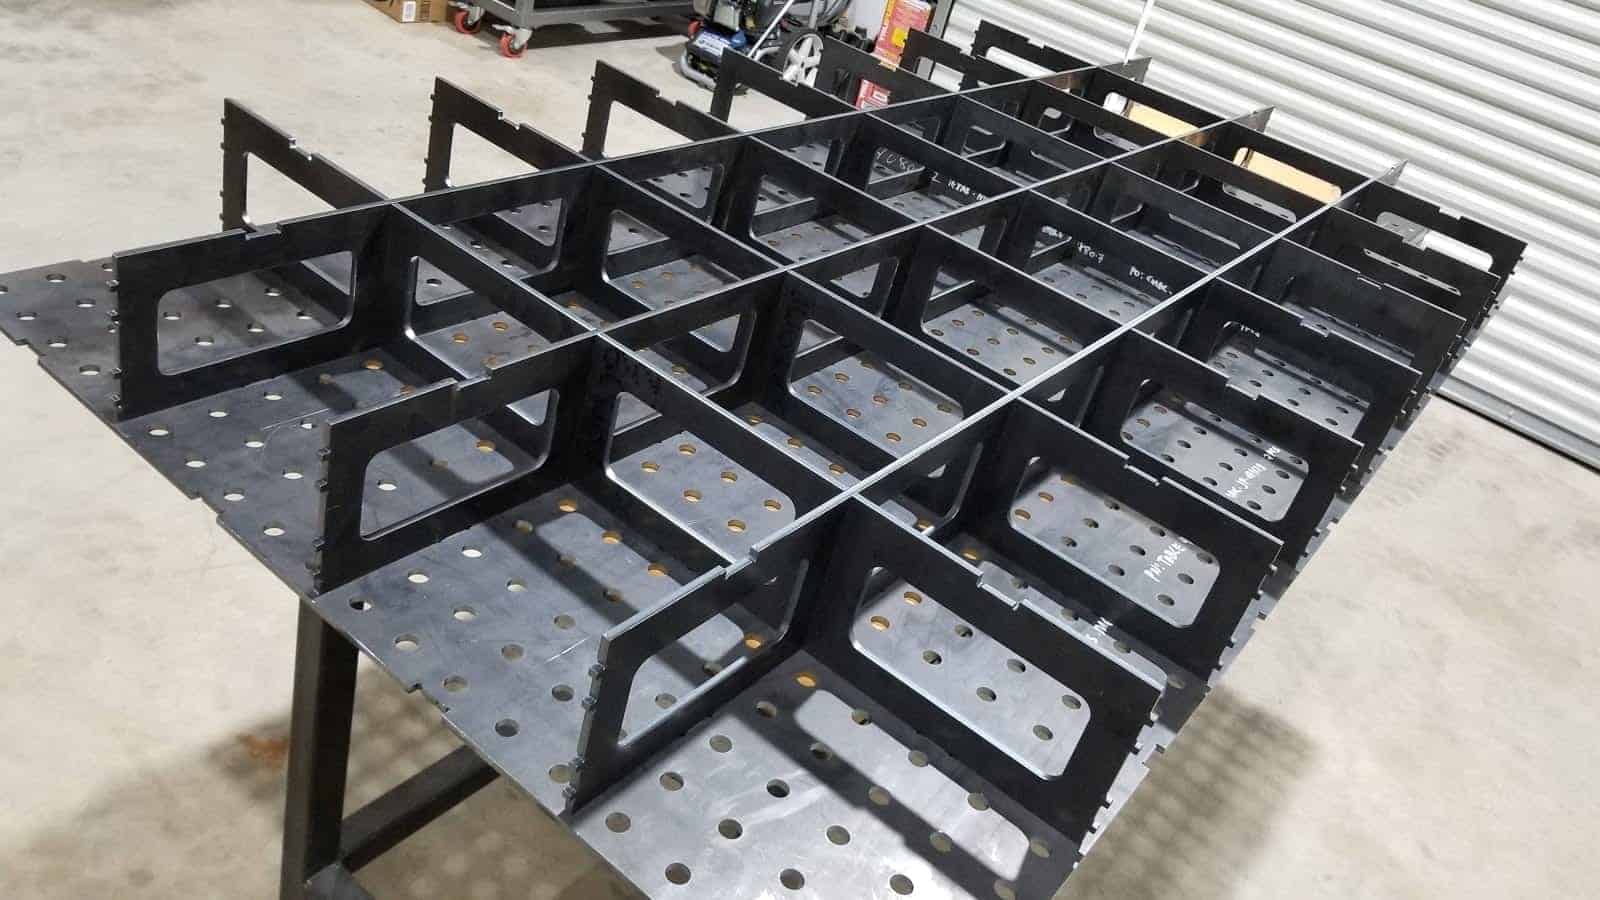
- 10″ rib infrastructure with integrated mounting holes.
- Our tables include ribs spaced every 10″, giving more strength and density than tables based on 12″ dimensions.
- We also include special hole patterns in the ribs UNDER the table for hanging anything you can come up with… or for our drawers and other hanging accessories.

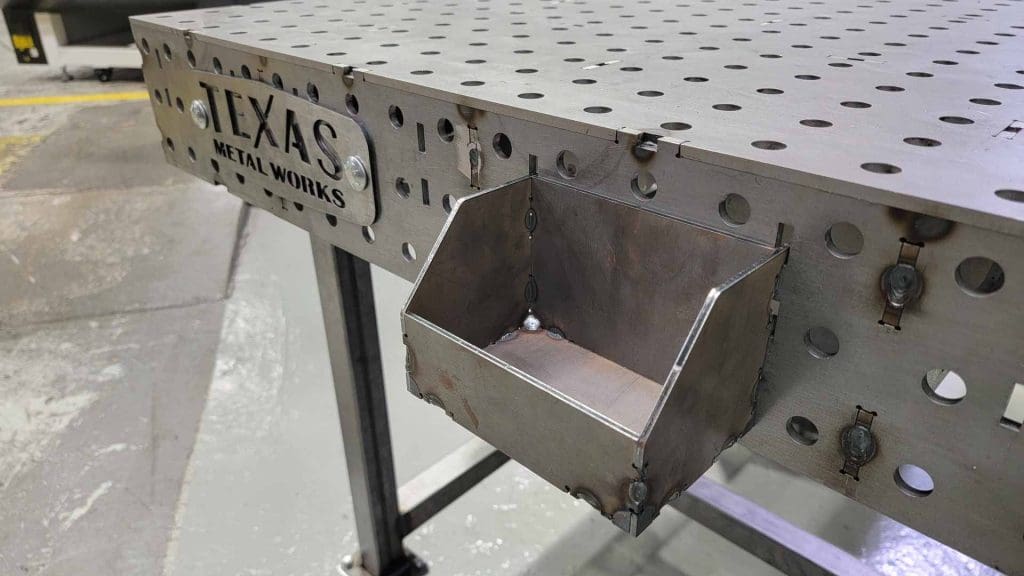
- Super Slots on all sidewalls for use with our entire line of accessories.
- We’re the only manufacturers on the planet who actually include a quick mounting system built right into the sides of the tables!
- The 16mm holes are great, but when you want to hang something quick, or move it around, you don’t want to be messing with nuts and bolts.

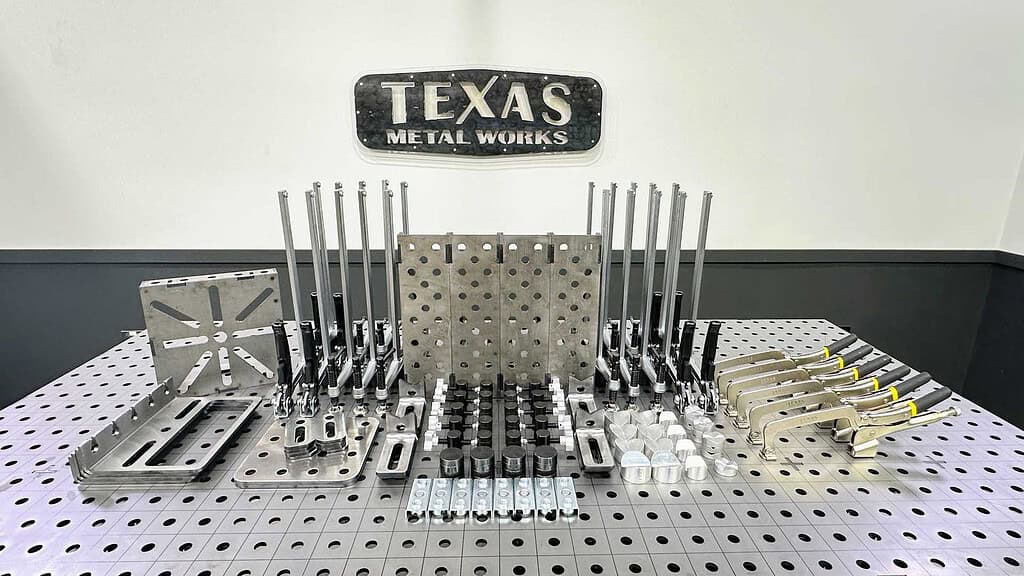
- Compatibility with our:
Assembling Your Kit
Before you get started, here’s a build video from Tick Creek Ranch with some tips and tricks, and lessons learned (lesson #1 – DON’T WELD WHERE IT ISN’T NEEDED :-).
Materials Needed:
As you’ll see from the video, it doesn’t take a lot to build our kit, but these are some things you’ll need to have on hand.
- 5/16″ bolts and nuts (included)
- A couple of 4x4s (or something to elevate your project)
- A long straight edge, to check your work.
- Socket / wrench for nuts
- Cut-resistant gloves – SAFETY FIRST!!
- Patience!
Preparation:
- Inspect All of the Edges and Intersections!
- Laser cutting leaves a little burr, known as “dross” on the edges. You can NOT get the table flat without removing it!
- Use a sander or grinder with a flap disk to smooth all edges and rib areas. Be gentle. You just want to get through the rough stuff without actually removing the meat of your material.
- Make sure and get any dross off around the slots that the tabs will be inserted in. You don’t want anything interfering with fitment.
IMPORTANT: Also make sure and clean the material as much as possible! Dirt or anything that prevents the straight edges from touching one another will impact your flatness.
Assembly Steps:
- Install Long Ribs First:
- Place long ribs into designated slots. They have to go in first so the short ribs can slide down into the appropriate grooves.
- Ensure edges are flush with the inside surface of the top for flatness.
- Install Short Ribs:
- Insert short ribs after long ribs.
- Ribs should fit snugly; minor bowing or gaps are okay. They’ll be secured later with bolts and nuts.
- Attach Sidewalls:
- This part can be tricky; proceed patiently.
- Position a nut in the rib’s capture area to hold it.
- Align tabs of short ribs with slots of long ribs and secure with bolts.
- Secure All Sidewalls:
- Repeat the sidewall installation on the opposite side.
- Ensure everything is held loosely with additional nuts and bolts.
- Attach the Top:
- Insert nuts into cutouts and screw in from the bottom.
- Use 4x4s or another elevating material for easier access.
- Adjust for Bowing:
- If a nut doesn’t fit, apply downward pressure on the top to create space.
Tightening Bolts:
- Tighten Evenly:
- Start in the middle and work outward.
- This helps pull slack out toward the edges.
- Check Flatness:
- Use a straight edge to test for gaps.
- Measure both width-wise and diagonally.
- Correct Any Twist:
- Gently tap on corners to induce opposite twists.
- Use a non-marring tool for tapping.
Welding:
- Prepare for Welding:
- Start with tacking each corner of grid pieces.
- Work from the middle outwards to minimize distortion.
- Weld Ribs to Top:
- Ensure all ribs are securely welded to the top.
- Weld Sidewalls:
- Get welds into the openings between tabs and slots.
- Attach Leg Plates:
- Drop in plates at corners; they are omnidirectional.
- Tack weld corners and fill in gaps as needed.
Final Touches:
- Optional: Tack nuts in place for future bolt use!
- Prepare for Legs: Once everything is secure, attach the legs.
- Take Your Time: Adjustments may be necessary due to material variations.
Notes:
- Expect variations in fit; don’t get frustrated.
- Be prepared to apply force to achieve flatness.
Now you’re ready to go! Enjoy the process!
Don’t Forget Your Legs!
We offer our DIY Welding Table Leg Kits for every size of DIY Welding Table, with either heavy-duty black-on-black casters (1,000 lbs capacity each) or high load capacity leveling feet (4,000 lbs per foot). So don’t forget to pick up the leg kit to complete your project.


